The Short Answer: Paint correction can restore your car’s paint, but mistakes during the process can lead to poor results or even damage. This guide highlights five common mistakes and practical solutions to help you achieve a smooth, professional-grade finish.
Paint correction is a great way to restore your vehicle’s appearance, removing swirl marks and fine scratches and enhancing the gloss. However, common mistakes can lead to uneven results or surface damage. In this guide, we’ll walk through the five most common errors and how to avoid them, ensuring you get a smooth, lasting finish.
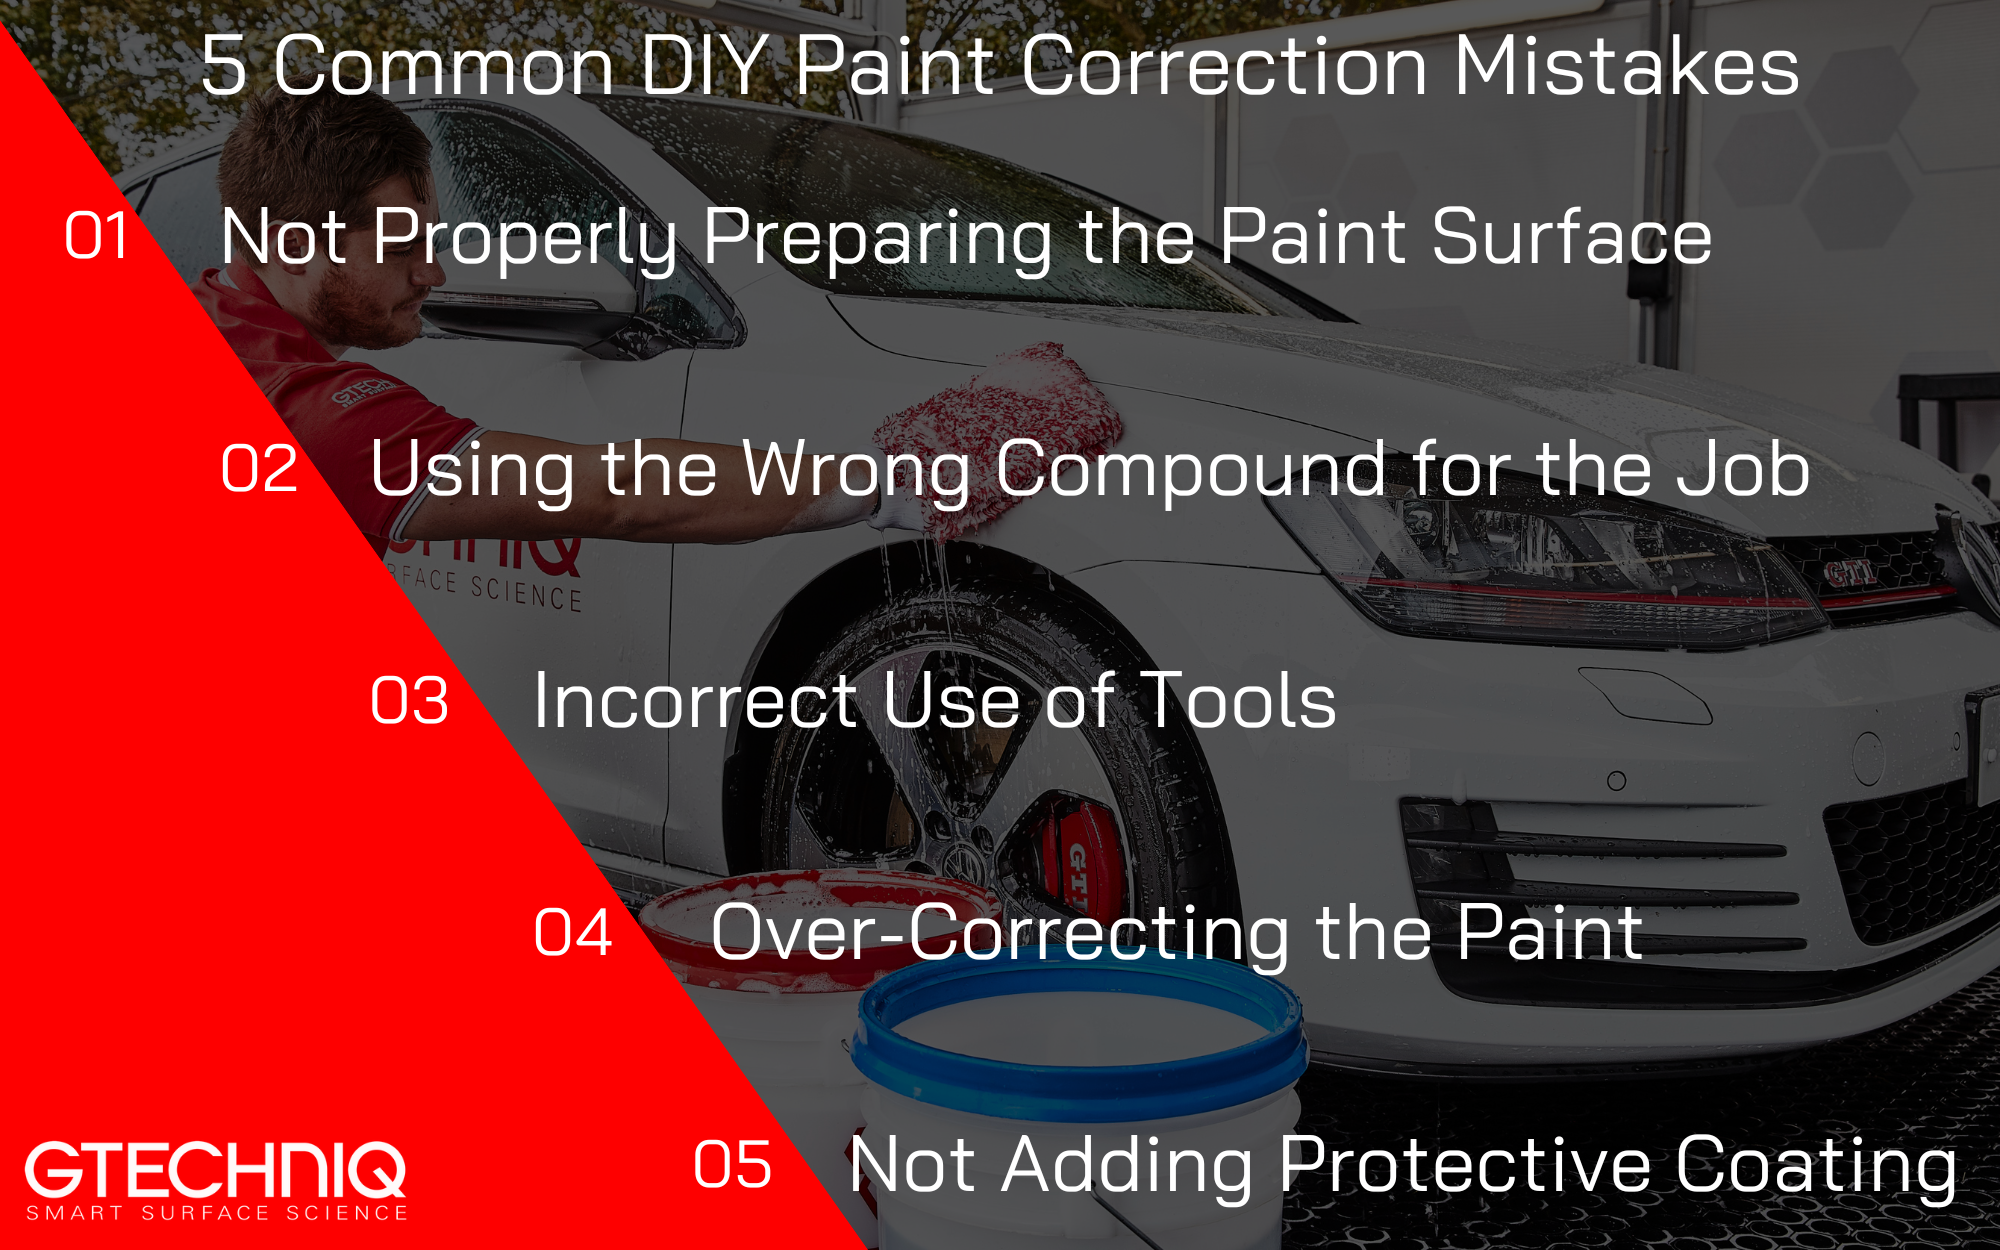
Mistake 1: Not Properly Preparing the Paint Surface
Before you begin correcting the paint, it’s important to ensure the surface is clean and free from contaminants. Many DIY detailers skip this step, thinking a simple wash is enough. Failing to properly decontaminate can lead to uneven results or scratches during correction.
Why It Matters: Paint correction is about creating a smooth, clean canvas. Contaminants like dirt, tar, iron fallout, and old wax can interfere with the polishing process, preventing effective correction. Contaminants can also get trapped in the polishing pads, causing scratches or marring the paint.
How to Avoid It:
- Thorough wash: Use a pH-neutral car shampoo to remove dirt and grime.
- Use a clay bar or mitt: Remove embedded contaminants like tar, industrial fallout, and sap.
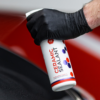
- Use a fallout remover: Dissolve iron deposits and other stubborn contaminants.
- Dry completely: Use a clean microfiber towel to ensure no moisture remains before polishing.
Gtechniq Tip: When using a wash mitt, always work in straight lines, not circles. Apply gentle pressure and ensure the mitt is properly lubricated to lift dirt without scratching the surface.
Mistake 2: Using the Wrong Polish or Compound for the Job
Not all polishes and compounds are created equal. Using a heavy-cut compound on light imperfections can cause unnecessary damage, while a mild polish may not remove deep scratches and swirl marks effectively.
Why It Matters: The wrong polish can result in poor correction or additional damage. An aggressive compound on soft paint can cause micro-marring, while a too-light polish might leave imperfections behind. Matching the level of correction needed to the correct product is key to achieving a smooth, glossy finish.
How to Avoid It:
- Assess imperfection severity:
- Light imperfections and minor scratches: Mild polish or finishing compound.
- Deeper scratches: Medium or heavy-cut compound.
- Consider paint type: Softer paints need a lighter touch, harder paints can handle more aggressive compounds.
- Test on a small area: Start with the least aggressive method to ensure effectiveness.
Gtechniq Tip: Start with a mild polish and increase aggressiveness only if needed. This minimizes the risk of over-correcting and damaging the paint.
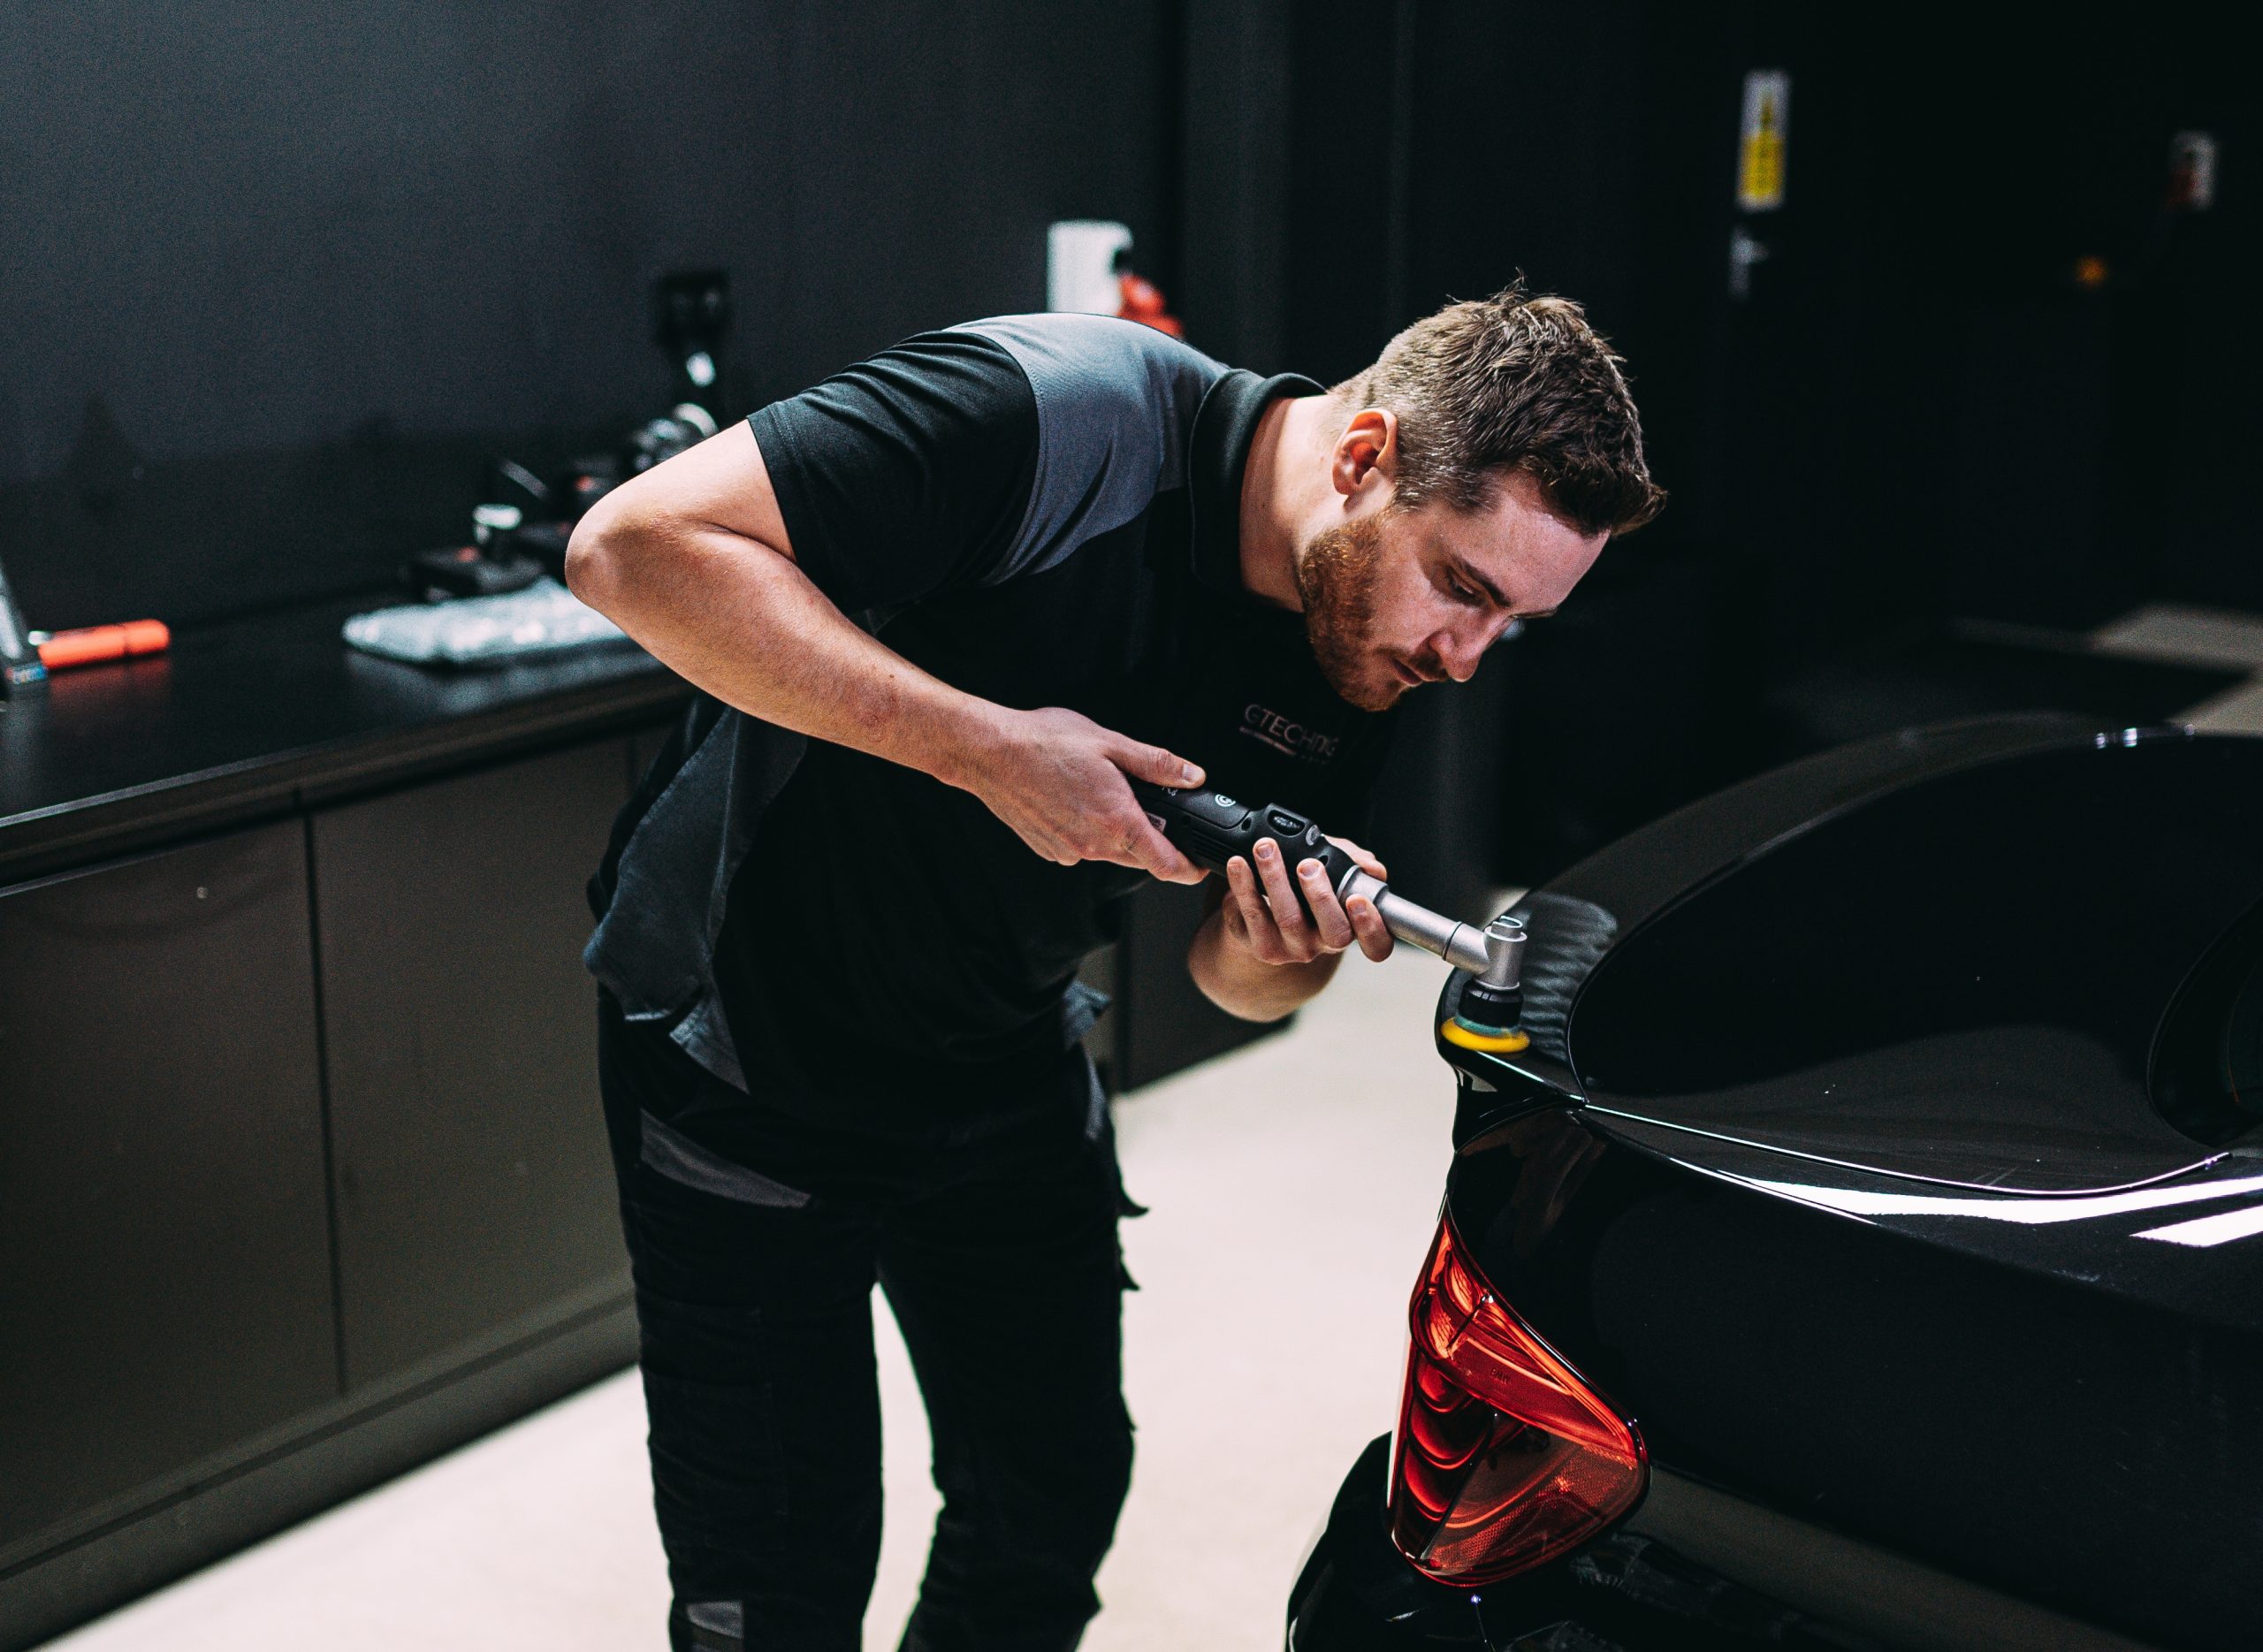
Mistake 3: Incorrect Use of Tools
Improper settings or pad selection can create holograms, burn marks, or uneven results. Many detailers apply too much pressure or use high speeds to try to finish faster, which can damage the paint and reduce correction quality.
Why It Matters: Each machine polisher and pad combination is designed for a specific purpose. Excessive pressure or high speed on the wrong pad can cause heat buildup and swirl marks or other imperfections.
How to Avoid It:
- Choose the right pad:
- Soft pads for finishing and light corrections.
- Medium/heavy-cut pads for deeper imperfections.
- Set the correct speed:
- Start low to avoid overheating the paint. Increase only as necessary.
- Apply light, even pressure: Let the tool and product do the work.
Gtechniq Tip: Keep the pad flat against the surface. Tilting can leave uneven correction and swirl marks, especially on curves.
Mistake 4: Over-Correcting the Paint
Some detailers focus too long on a single spot or press too hard, thinking it will improve results. Over-correction can thin the clear coat and damage your car’s paint or cause heat buildup, leading to an uneven finish.
Why It Matters: Excessive polishing can create burn marks and dull spots, or compromise the clear coat. It’s important to remove imperfections without compromising the paint’s integrity.
How to Avoid It:
- Work in small sections: Ensure controlled correction.
- Use light pressure: Apply only what’s necessary.
- Check progress regularly: Wipe with a clean microfiber towel to inspect results.
- Stop when done: Avoid unnecessary passes.
Gtechniq Tip: Check your work frequently and, if possible, monitor paint thickness to prevent over-correcting and preserve the protective layers.
Mistake 5: Failing to Apply a Protective Coating After Correction
Freshly corrected paint is more vulnerable to contaminants, water spots, and fading without a protective layer.
Why It Matters: Without a protective coating, your newly corrected paint can quickly show imperfections again and is exposed to oxidation, UV rays, and environmental contaminants.
How to Avoid It:
- Apply a ceramic sealant or coating: Creates a durable, hydrophobic surface that repels contaminants.
- Follow curing instructions: Ensure full bonding to the paint for maximum performance.
- Maintain the surface: Use pH-neutral shampoos and clean microfiber towels to preserve the coating.
Gtechniq Tip: Finish paint correction with a ceramic coat or sealant. This adds paint protection, enhances gloss, and reduces future maintenance.
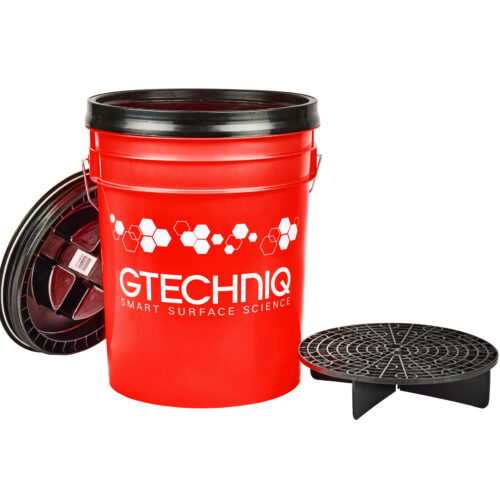
Gtechniq Products for DIY Paint Corrections
For the best results, consider integrating these Gtechniq products:
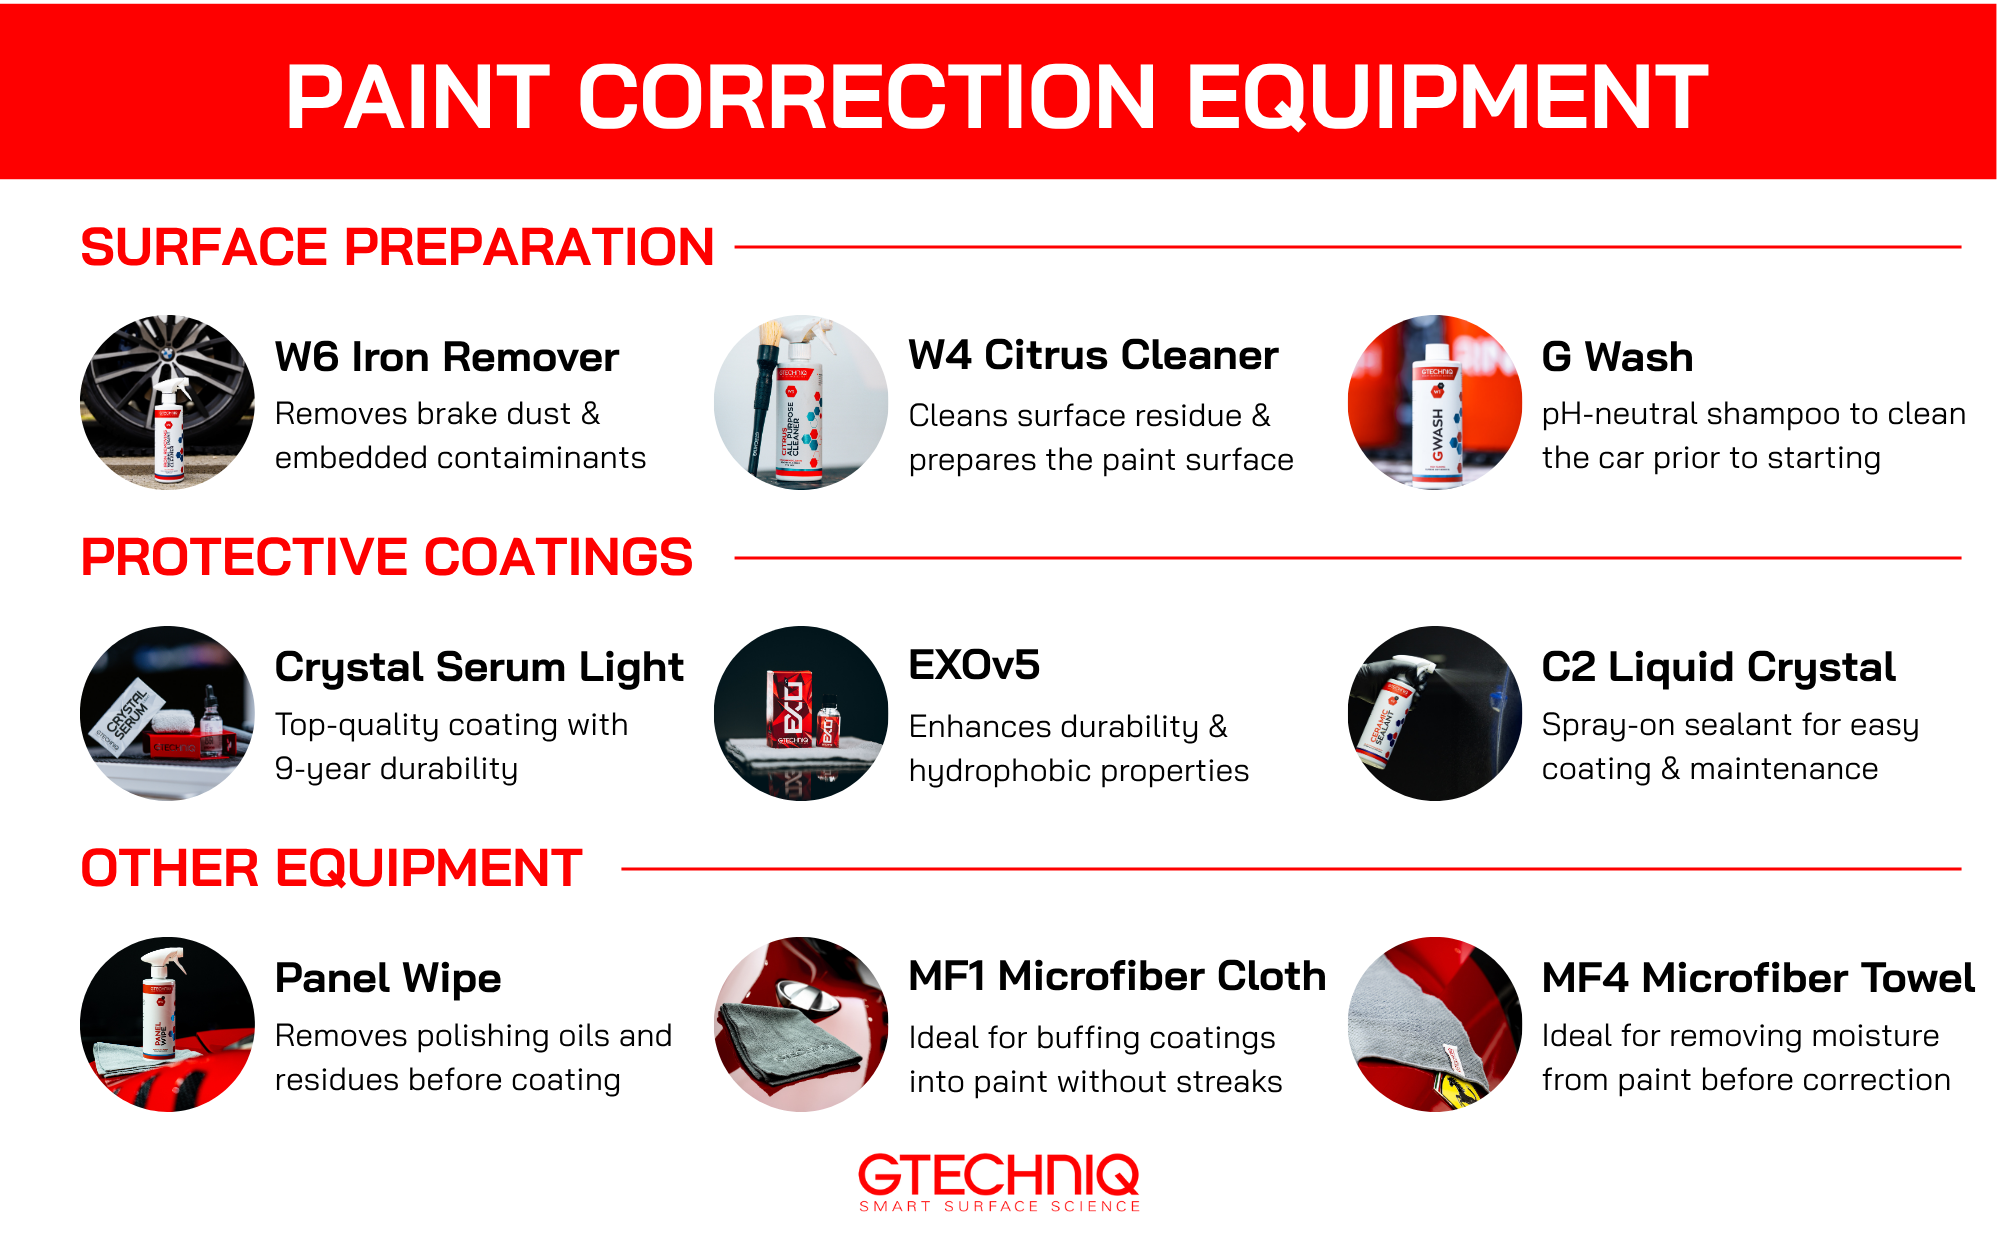
Surface Preparation
- W6 Iron & General Fallout Remover – Removes brake dust and embedded contaminants.
- W4 Citrus All Purpose Cleaner – Cleans residues and prepares the surface.
- MF4 Diamond Sandwich Microfibre Drying Towel – Ensures water-free, smooth surfaces before correction.
Paint Correction Compounds and Polishes
- Panel Wipe – Removes polishing oils and residues before coating.
- G Wash – pH-neutral shampoo safe for coated surfaces.
Protective Coatings
- Crystal Serum Light (CSL) – Professional-grade ceramic coating for long-lasting gloss and protection.
- EXOv5 – Enhances durability and hydrophobic properties of coatings.
- C2 Liquid Crystal – Spray-on sealant for easy maintenance and water-repellent protection.
- MF1 ZeroR Microfibre Buff Cloth – Ideal for buffing coatings to a streak-free finish.
Get Professional Results at Home
Paint correction can restore your vehicle’s finish, but common mistakes such as skipping proper prep, using the wrong polish or compound, incorrect tool use, over-correcting, or failing to apply protection, can compromise results and damage the paint.
By following proper techniques and addressing each of these areas, you can achieve a smooth, glossy finish and keep your paint job looking like new while preserving your car’s clear coat integrity. Applying a high-quality ceramic coating or sealant afterward adds durable protection, maintains gloss, and simplifies future maintenance.
At Gtechniq, we offer scientifically backed, field-tested products to ensure your car is properly protected and always looking its best, giving you long-lasting gloss, hydrophobic performance, and peace of mind. Check out our top-of-the-line products today!