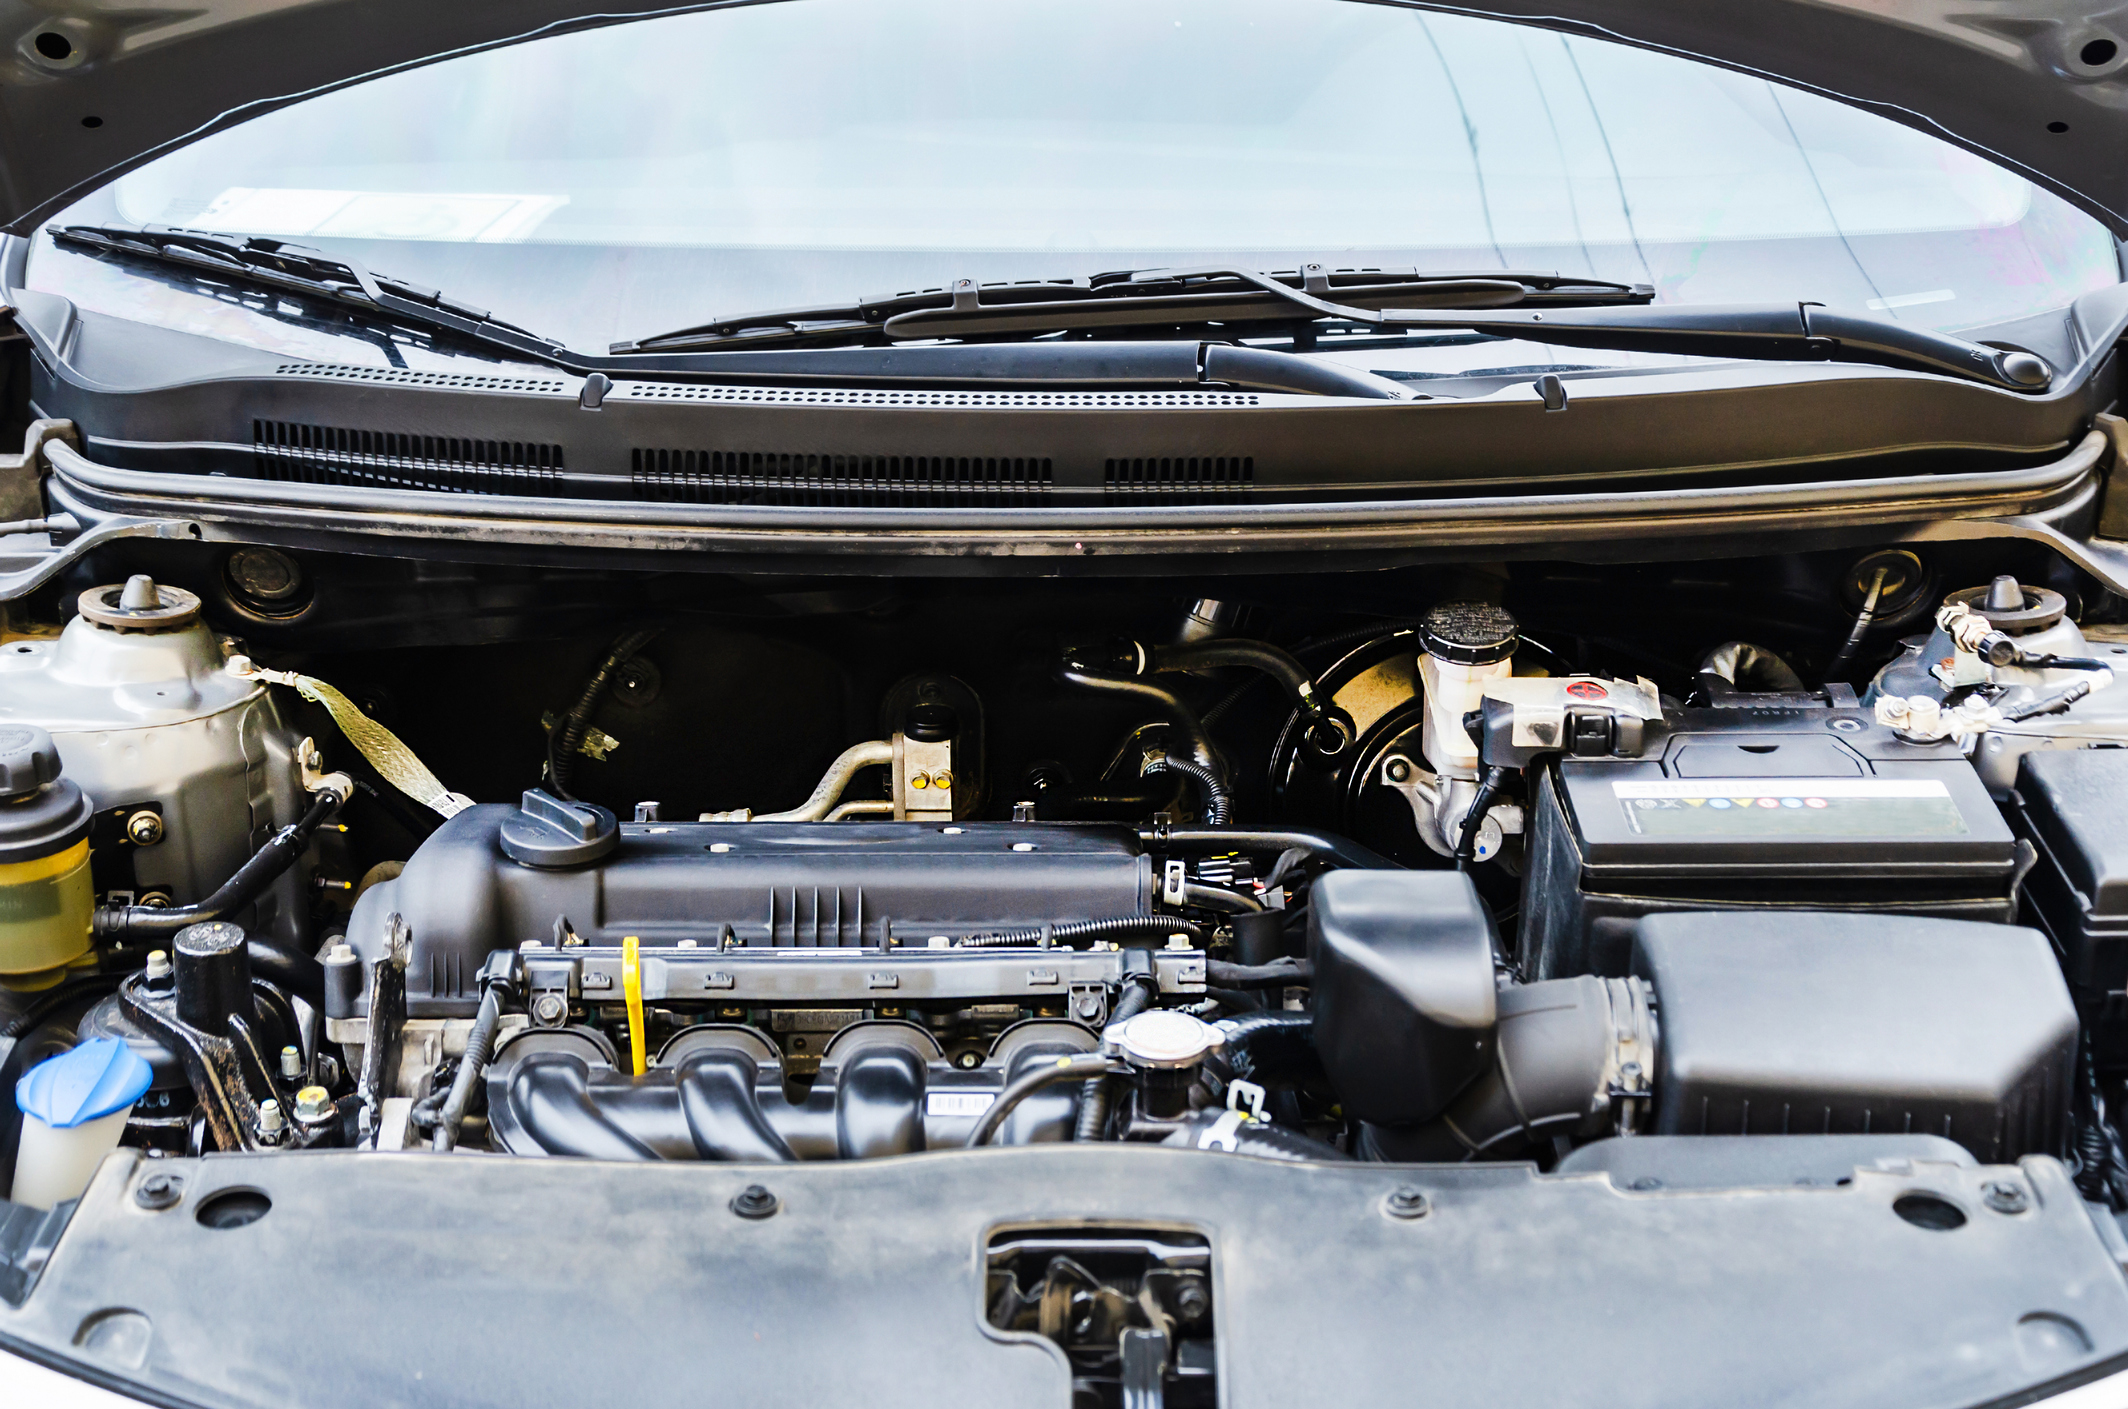
Cleaning your engine bay might seem intimidating, but it doesn’t have to be. With a little preparation and the right tools, you can get your engine compartment looking as good as new. Let’s break it down step by step, covering safety tips and product recommendations so you can tackle it confidently.
Prep Work: What You Need Before Cleaning
Before you jump in, prep both your tools and your car. Skipping this step can lead to water damage or a messy cleanup.
Safety First
- Always start with a cold engine—cleaning a hot engine can cause burns or crack sensitive parts.
- Cover sensitive areas like the air filter, fuse box, and electrical components with plastic bags secured by rubber bands.
- For older vehicles or classic cars, take extra care as these may have more exposed or delicate parts.
Gather Your Tools
Here’s what you’ll need:
- Engine degreaser (like Gtechniq’s W5 Citrus All Purpose Cleaner or W2 Multi-Purpose Cleaner)
- Pressure washer or spray bottle
- Soft-bristled brush, microfiber cloth, or wash mitt
- Drying towel (like Gtechniq’s MF4 Diamond Sandwich Drying Towel)
- Optional: Gtechniq’s T1 Tyre Gel, T2 Tyre Dressing, or C4 Permanent Trim Restorer for finishing touches
- Optional: air compressor for drying
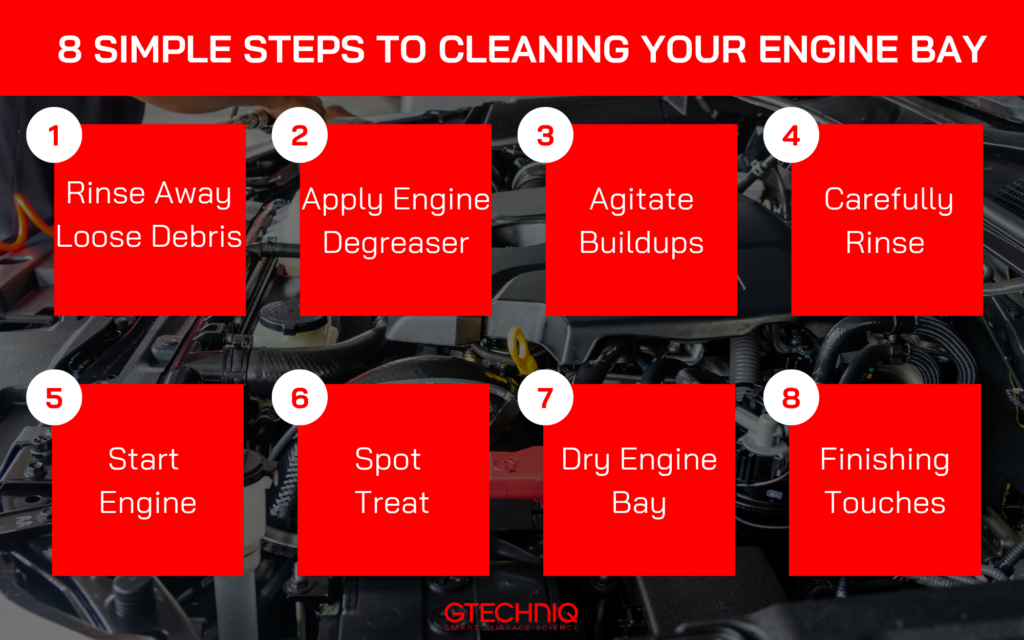
Step-by-Step Guide to Cleaning Your Engine Bay
Now that you’re prepped, let’s clean.
Step 1: Rinse Away Loose Debris
After covering exposed or delicate parts, start by rinsing the entire engine bay gently using a pressure washer or spray bottle. Avoid directing water at electrical connectors or the alternator. A light spray is all you need here to loosen dust and dirt.
Step 2: Apply an Engine Degreaser
- Use Gtechniq’s W5 Citrus All-Purpose Cleaner or W2 Multi-Purpose Cleaner. Apply it generously across the engine bay, including the engine cover and underside of the hood.
- Tip: For heavy grime, use W5 neat. For a lighter clean, dilute it 4:1. For general cleaning, W2 works well at a 10:1 ratio.
- Let the degreaser dwell for 1–2 minutes to break down the grease.
Step 3: Agitate Buildups
Grab a soft-bristled brush, microfiber cloth, or wash mitt to gently agitate tough spots. Focus on areas like the strut towers and intake manifold.
Step 5: Carefully Rinse
Apply a fine mist of water starting top down to rinse away the dirt and contaminants. Ensure that the electrical connections stay dry by working carefully around those areas.
Step 4: Remove Covers and Start Engine
Remove any bags you have put on the car. Start the engine for a few minutes, and then turn it off.
Step 6: Spot Treat
Spot treat any remaining areas with the W5 or W2 and re-rinse the engine bay down with a fine mist of water.
Step 7: Dry the Engine Bay
Dry the engine bay top down with an MF4 Diamond Sandwich Drying Towel – your engine bay should be looking much better already. If needed, use an air compressor beforehand to help remove any small pools of water that may be hard to access.
Finishing Touches
Once you’re content with your clean engine bay and it’s dry, you can add some protective finishes to keep it looking great:
- Use Gtechniq’s T1 Tyre Gel, T2 Tyre Dressing, or C4 Permanent Trim Restorer on rubber and plastic parts for a sleek, like-new finish.
- Use T1 for a glossy finish
- Use T2 for a matte finish
- Use C4 for restore trim to a like-new appearance
- Polish any metal surfaces with M1 All Metal Polish to restore shine.
- Don’t forget to wipe down painted areas under the hood with a damp cloth. We recommend using our Quick Detailer.
- Use C2 Ceramic Sealant for added protection.
Expert Tips for Engine Bay Cleaning
- Use a Pressure Washer Carefully: Contrary to popular belief, pressure washing can be safer than using a garden hose because it reduces water concentration in a specific area. Professional detailers often use pressure washers or steam cleaners for cleaning engines, even sensitive ones. If you use a pressure washer, rinse from a few feet away to avoid damage and ensure thorough cleaning.
- Warm Engine for Burn-Off: After drying, start the engine for a few minutes to evaporate any leftover moisture.
- Stay Consistent: Regularly cleaning your engine bay makes the process quicker and prevents grease buildup over time.
Clean Your Engine Bay Confidently with Gtechniq
Regular maintenance not only enhances the appearance of your engine compartment but also supports your car’s performance and longevity. With Gtechniq’s expertly designed product, you can achieve a thorough, safe, and professional-grade clean. Whether you’re a detailing enthusiast or a first-timer, trust Gtechniq to make your engine bay cleaning simple, effective, and satisfying. Shop Gtechniq for the ultimate auto, bike, and marine products!
